First of all, run the program. Right upon the start up you should see the following welcome window:
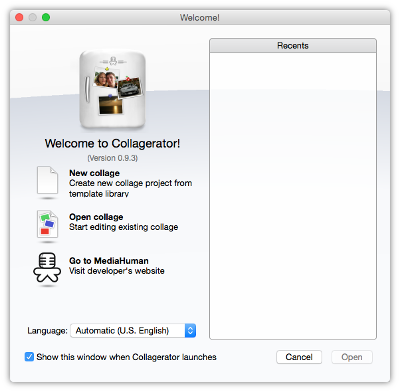
Here you can choose to create a new collage or open one of previously edited ones. For now, let's stick with a new collage.
Once you select New, the following window appears:
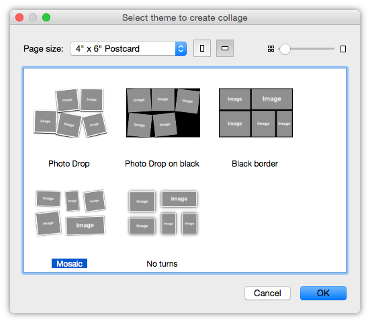
Here you can select the layout of the collage, i.e. how it should look. Note, that this is not the exact look, but merely an impression of what you receive. The dropdown list at the top provides various page sizes. Let's select a simple 4" x 6" postcard as an example. Buttons to the right of the dropdown allow you to switch between portrait and landscape orientation of the page.
Ok, so we settle on the landscape mosaic, 4" x 6". Click OK to continue.
Now we need to add photos to our collage. The main window of Collagerator looks as follows:
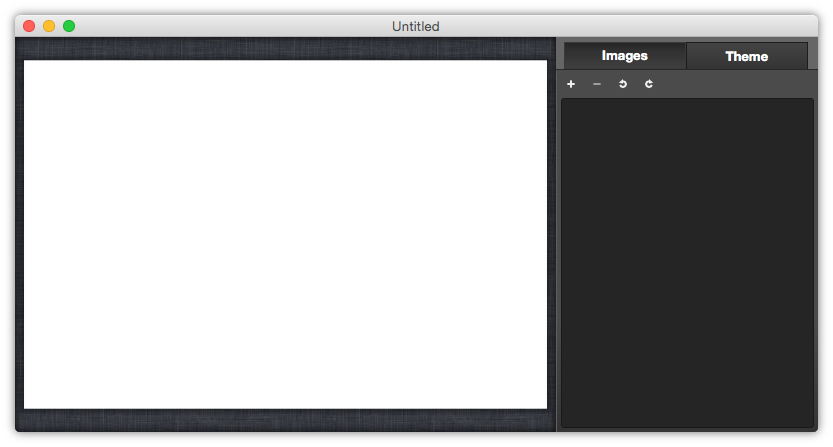
The left part of the window displays a working area where the collage is. The right panel contains two tabs: Images and Theme. The Image tab is selected by default, so we can start adding images now.
Click the plus sign button. The open dialog appears. All major image formats are supported. Locate and select one or more images you'd like to add to the collage and confirm your selection.

Now, you can see images have been added to the list and to the collage as well. You can add some more images now or delete some of already added ones if you changed your mind. When you're done, proceed to the next step.
Congratulations! Your collage is ready to be printed or exported. To print the collage, press Cmd-P (Ctrl+P on Windows) or select Print from the main menu.
To export the collage, select Export... from the main menu. The export dialog looks as follows:
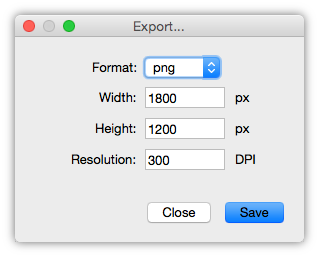
Here you can specify the desired height and width of the resulting image, the output format and resolution.
Important: the PPI (pixels per inch) of source images must meet the printing or exporting DPI (dots per inch), otherwise the resulting quality will be low due to scaling of images. For instance, if you want to print a 6” x 4” postcard collage, try to supply all photos with at least 1440 x 960 pixels resolution. Larger page sizes require higher resolutions of source photos.